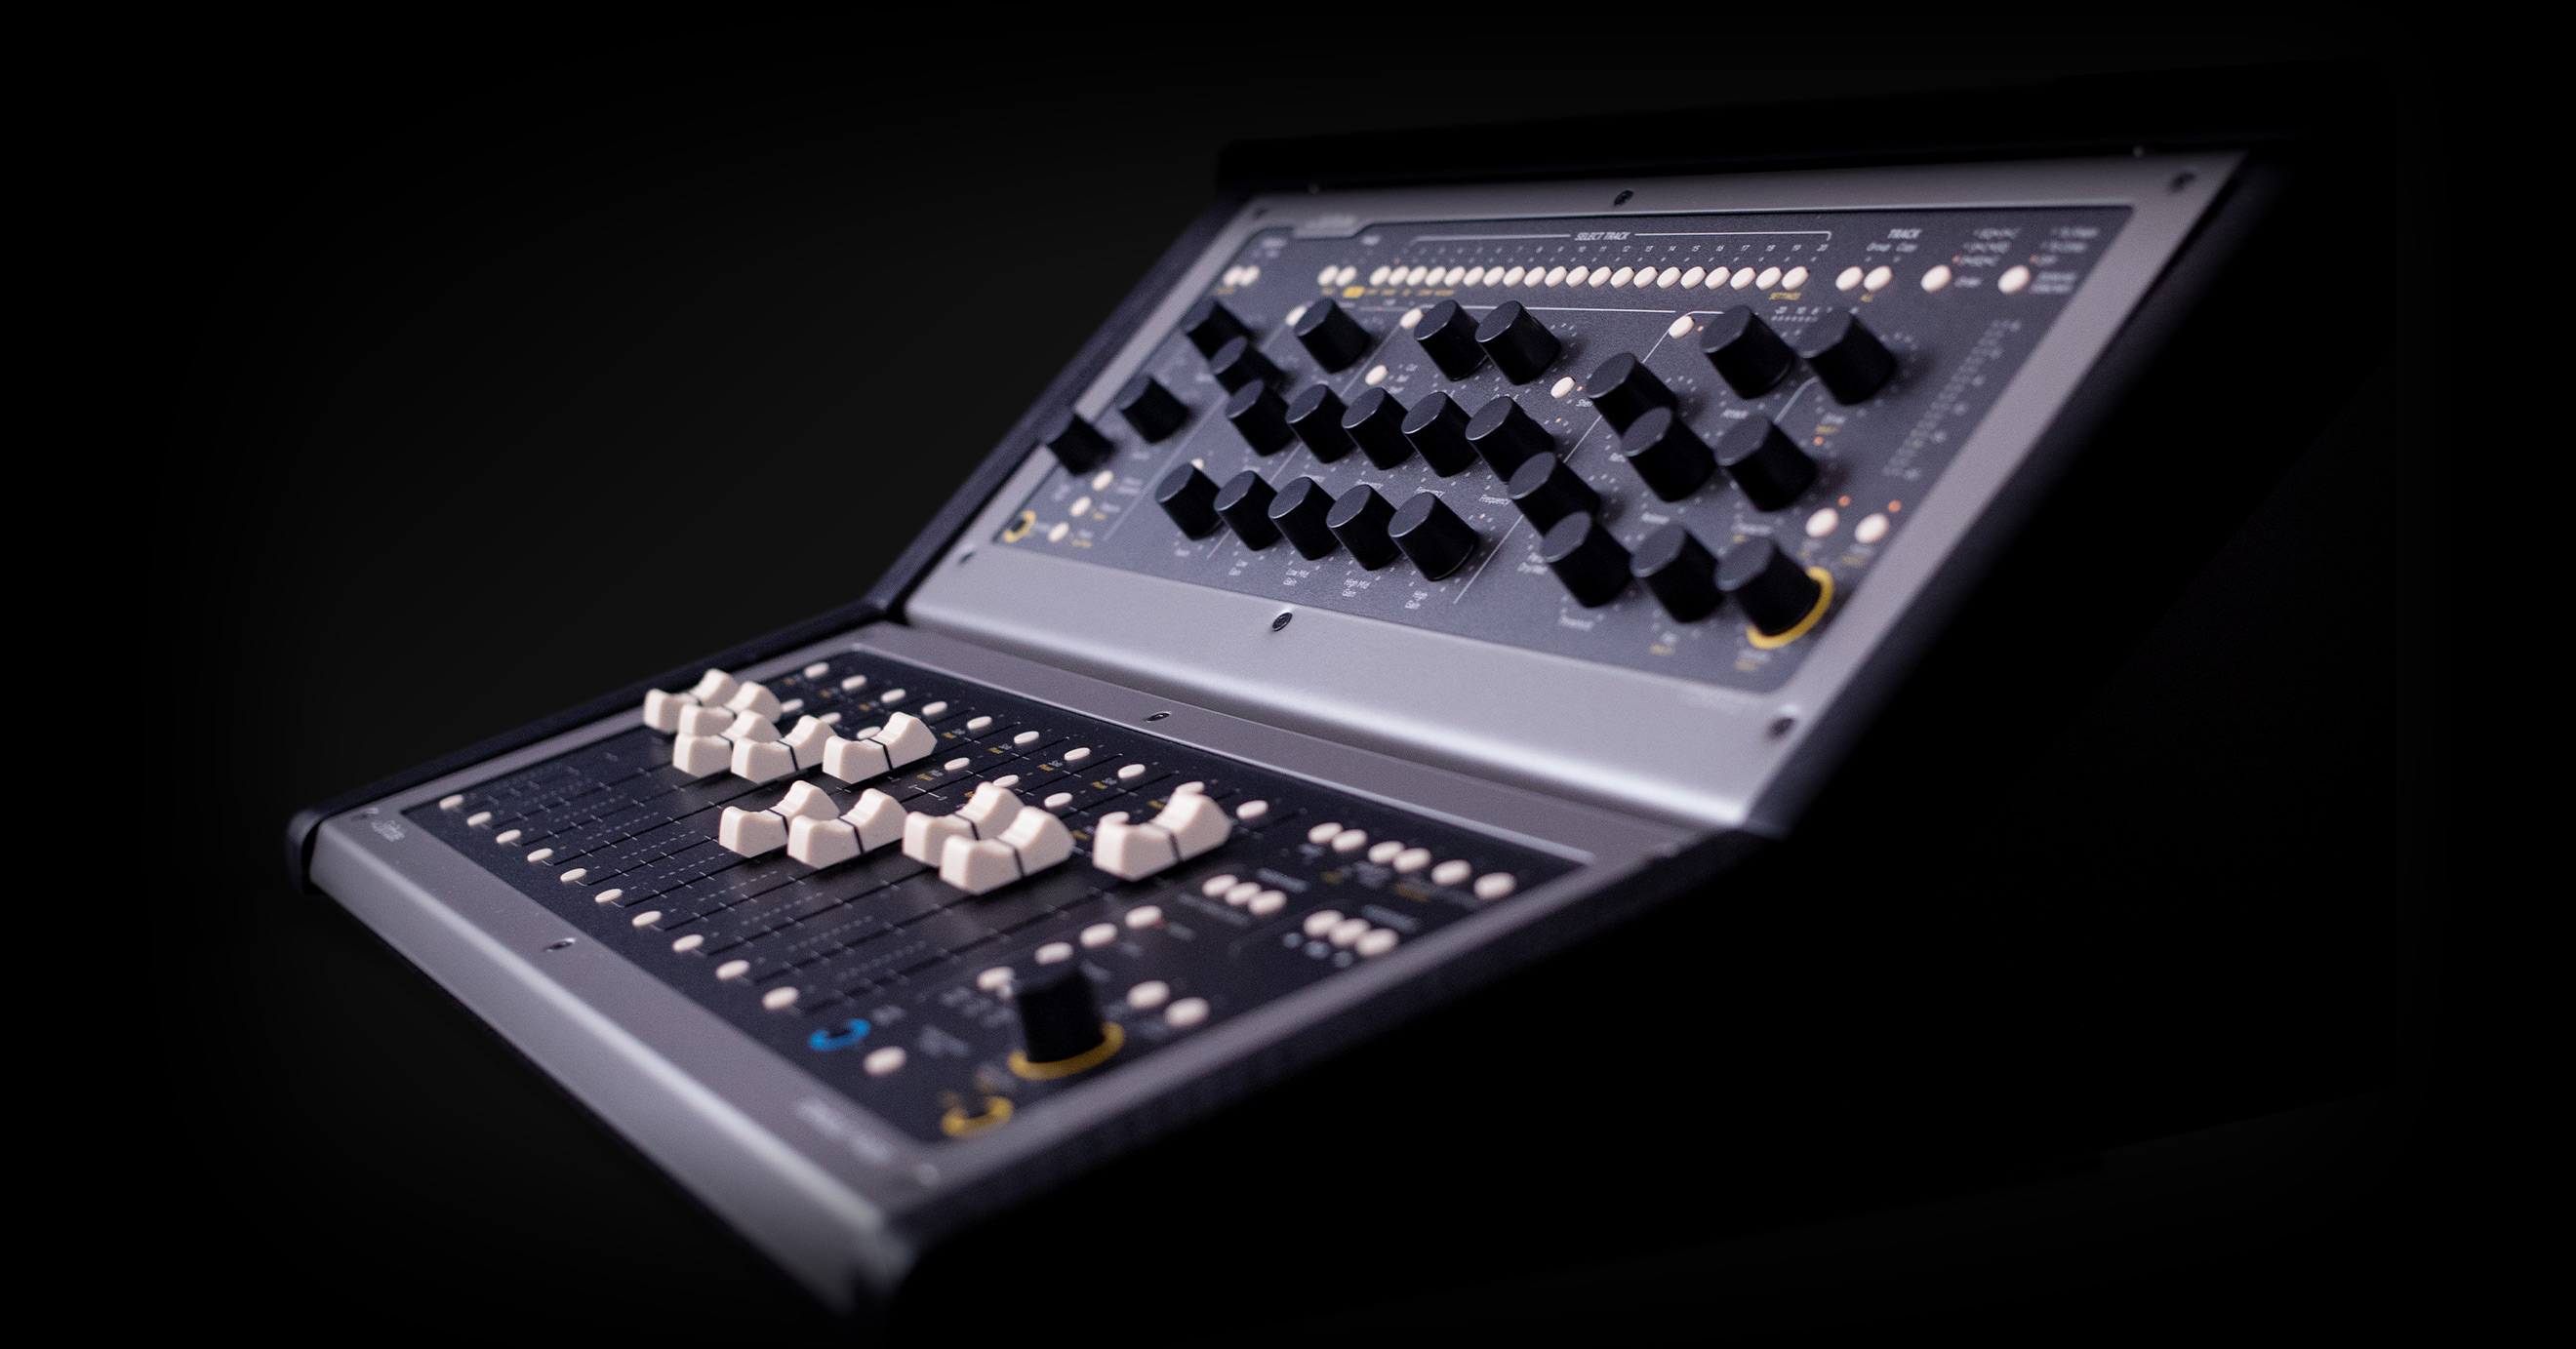
Softube Console 1 Hardware Layout
Top Panel:
Top Row:
- On Screen Display toggle button. Toggles Console 1’s on screen display on or off.
- Display Mode button (Press to cycle through Console 1’s display modes. If accessibility mode is on, press this button to toggle between default mode and training mode.)
- Page Up and Down buttons. (Scrolls through banks of tracks in DAW. Also used to scroll through parameters in menus.)
- Track Select buttons 1 through 20.
- Group button.
- Copy/All button.
- Block Order button.
- Side Chain button.
Second row:
(Please note the large spaces between the buttons in this row.)
- Shape button.
- EQ button.
- Compressor button.
*The following sections describe groups of controls, but not necessarily in specific rows as above.
2 knobs positioned vertically, slightly left of Shape button:
Top: High Cut.
Bottom: Low Cut.
1 knob slightly left of Low Cut:
Input Gain. (Add Shift button described below to adjust with on stereo tracks.)
Bottom left of Control 1:
Shift button. (Used in conjunction with other controls to access additional functions on Console 1.)
When Shift is held, the Copy button becomes the All button.
When Shift is held, the Filters To Compressor button toggles Solo Safe on or off for the selected track.
3 buttons positioned vertically to the right of Shift button:
Top: Filters to Compressors toggle.
Middle: Phase Invert toggle. (Add Shift button to Bypass)
Bottom: Load Preset button. (Add Shift button to save user presets.)
1 knob slightly right of High Cut and Low Cut knobs:
Gate knob.
1 button below Gate knob:
Hard/Soft Gate toggle.
3 knobs positioned vertically to the right of Gate knob:
Top: Release.
Middle: Sustain.
Bottom: Punch.
1 button to the right of Release knob:
Low EQ Type button. (Cycles between the available types for the Low EQ band.)
2 knobs positioned vertically to the right of Low EQ Type button:
Top: Low Band Frequency.
Bottom: Low Band Gain.
3 knobs positioned vertically to the right of Low Band section:
Top: Low Mid Cue.
Middle: Low Mid Frequency.
Bottom: Low Mid Gain.
3 knobs positioned vertically to the right of Low Mid Band Section:
Top: High Mid Cue.
Middle: High Mid Frequency.
Bottom: High Mid Gain.
1 button to the right of High Mid Band section:
High EQ Type button. (Cycles between the available types for the High EQ band.)
2 knobs positioned vertically to the right of Low EQ Type button:
Top: High Band Frequency.
Bottom: High Band Gain.
2 knobs positioned vertically to the right of EQ section:
Top: Ratio.
Bottom: Parallel.
3 knobs positioned vertically to the right of Ratio and Parallel knobs:
Top: Attack.
Middle: Release.
Bottom: Threshold.
3 knobs positioned vertically to the right of Compressor section:
Top: Drive.
Middle: Character.
Bottom: Pan.
(Add Shift button to control first 3 sends in supported DAWS.)
2 buttons positioned horizontally below and slightly to the right of Drive section:
Left: Solo. (Also used as OK button in menus.)
Right: Mute. (Also used as Cancel button in menus.)
Bottom right of Console 1: Volume knob. (Also used to scroll through parameters in menus.)
Rear Panel:
Right: USB port.
Softube Console 1 Fader Hardware Layout
Top Panel:
Top Row: (From left to right)
- Solo/Phase buttons 1 through 10. (Press to solo tracks in the selected bank. Add shift to flip the phase of tracks in the selected bank.)
- Page Down/Page Up buttons. (Press to select previous/next bank of tracks, or press to scroll through parameters in menus.)
- Display On button. (Press to toggle Console 1’s onscreen display on or off.)
- Display Mode button. (Press to cycle through Console 1’s display modes. If accessibility mode is on, press this button to toggle between default mode and training mode.)
- Load Drive/Load Strip. (Press to open a menu from where you can load the drive component of installed plugins. Add shift to load entire channel strips.)
- Settings button. (Press to open Console 1’s settings menu.)
Second row:
- Mute/Bypass buttons 1 through 10. (Press to mute tracks in the selected bank. Add shift to bypass the Console 1 plugin of tracks in the selected bank.)
- Send buttons 1 through 3. (Press to select sends 1 through 3 in supported DAWS.)
- Assignable buttons 1 through 3. (These buttons can be assigned to control functions in supported DAWS.
Third row: (3 buttons arranged vertically located to the right of fader 10 arranged from top to bottom.)
Top: Volume button. (Press to have Console 1’s faders control the volume for tracks in the selected bank.)
Middle: Drive button. (Press to have Console 1’s faders control the drive parameter for tracks in the selected bank.)
Bottom: Character button. (Press to have Console 1’s faders control the character parameter for tracks in the selected bank.)
2 buttons arranged horizontally located to the right of the drive button. (From left to right)
Solo/Ok button. (Press to solo the track that is selected using the track select buttons. Press to confirm choices in menus.)
Mute/Cancel button. (Press to mute the track that is selected using the track select buttons. Press to cancel choices in menus and return to Console 1’s main screen.)
The rest of the controls are not necessarily in specific rows:
3 buttons arranged horizontally to the right of fader 10.
Input Gain button. (Press to have Console 1’s faders control the input gain for tracks in the selected bank.)
Low Cut button. (Press to have Console 1’s faders control the low cut filter for tracks in the selected bank.)
High Cut button. (Press to have Console 1’s faders control the high cut filter for tracks in the selected bank.)
2 buttons arranged horizontally located at the bottom of the unit, to the right of fader 10.
Layer Mode button. (Press to access Console 1 Fader’s layer mode feature.)
Assign Tracks to Layer button. (Press to access Console 1 Fader’s assign tracks to layer feature.)
Single rotary knob, located to the bottom right of the unit.
(Turn to adjust the pan of the track that is selected using the track select buttons. Turn to scroll through parameters in menus.)
Shift button, located to the far right at the bottom of the unit.
(Press to access Console 1 Fader’s shifted functions.)
Track select buttons 1 through 10, located to the bottom of the fader track starting at the far left of the unit.
(Press to select the active track in the selected bank.)
Console 1’s faders. (Faders 1 through 10 starting at the far left of the unit.)
*Extra notes:
To turn Training Mode on,
- Press settings.
- Turn the rotary knob to scroll to accessibilityand press Solo/Ok.
- Press Solo/OK again to activate training mode.
Once Training Mode is on, with the onscreen enabled, you can press Display Mode, then operate any control to hear its parameter name as well as its current value without changing its value. Press display mode again to turn training mode off and return to the default mode.
Please refer to the Console 1 Fader Manual as well as the accessible tutorial videos for details on how to use all functions of the hardware and software.
Softube Console 1 Screen Reader functions
Quick start
The console 1 accessibility features use Voice Over on macOS and Narrator on windows.
You turn on and off the screen reader for Console 1 with the “display on” button on the hardware (top left).
If you don’t have Console 1 plugins inserted on the tracks in your DAW you will only get limited screen reader feedback from the settings menu and similar. Mixing controls and track selectors will be inactive.
If you don’t get any reaction from pressing the display on button, the software might have crashed, try restarting it.
Please refer to the Console 1 Manual as well as the accessible tutorial videos for details on how to use all functions of the hardware and software.
Special functions for Screen Reader Users:
Press Shift + Solo to read Input meters in real-time.
Press Shift + Mute to read Output meters in real-time.
Press Shift + Compressor to read Gain Reduction meter in real-time.
Press Shift + Track 11 button to monitor Input meters at 5 second intervals.
Press Shift + Track 12 button to monitor Output meter at 5 second intervals.
Press Shift + Track 13 button to monitor Gain Reduction meter at 5 second intervals.
Press Shift + Track 14 button to read Input Peak meter.
Press Shift + Track 15 button to read Output Peak meter.
Note that the peak value is held for about 6 seconds (if there isn’t any higher peak value before that), then it is reset to the current meter value.
Press Shift + Filters to compressor to turn on and off Solo safe on the currently selected track.
Training mode
When in training mode all buttons and knobs read out the parameter name plus the current value of the parameter without changing the value.
The buttons that aren’t linked to a parameter I.e track, page, group, copy, preset and shift, just read their names.
This means that you can’t change track in training mode. The Display on button works as normal and the mode button turns off training mode.
Turn on training mode:
Open setting, go to the accessibility option and press ok, press ok on the option “Enable the screen reader training mode and the mode button switching between normal and training mode”. You only need to do this once, then the mode button will turn on and off training mode.